DIY Screen Printing: A Step-by-Step Guide for Beginners
Getting Started with DIY Screen Printing
Screen printing is a fun and creative way to put your designs on various surfaces like t-shirts, posters, and more. With a bit of practice, you can create beautiful custom prints at home. This guide will walk you through the basic steps to get started.
Gathering Your Materials
Before you begin, you'll need to gather some essential materials. Here's a list to get you started:
- A screen with a frame
- Screen printing ink
- A squeegee
- Emulsion and sensitizer
- A light source for exposing your screen
- Transparent sheets for your design
- A surface to print on (e.g., fabric or paper)
Most of these items can be found at your local art supply store or online. Investing in quality materials will help ensure the best results.
Creating Your Design
Start by designing what you want to print. You can draw something by hand or use digital design software. Once you're happy with your design, print it onto a transparent sheet. The dark areas of your design will block the light during the exposure process, creating the stencil on your screen.

Preparing the Screen
Next, you'll need to coat your screen with emulsion. Mix your emulsion and sensitizer according to the instructions, then apply a thin, even layer to the screen. Allow it to dry in a dark place, as exposure to light can ruin the emulsion.
Once dry, place your transparent design on the screen and expose it to a light source. Follow the emulsion manufacturer's instructions for exposure time. After exposure, rinse the screen with water to reveal your design.
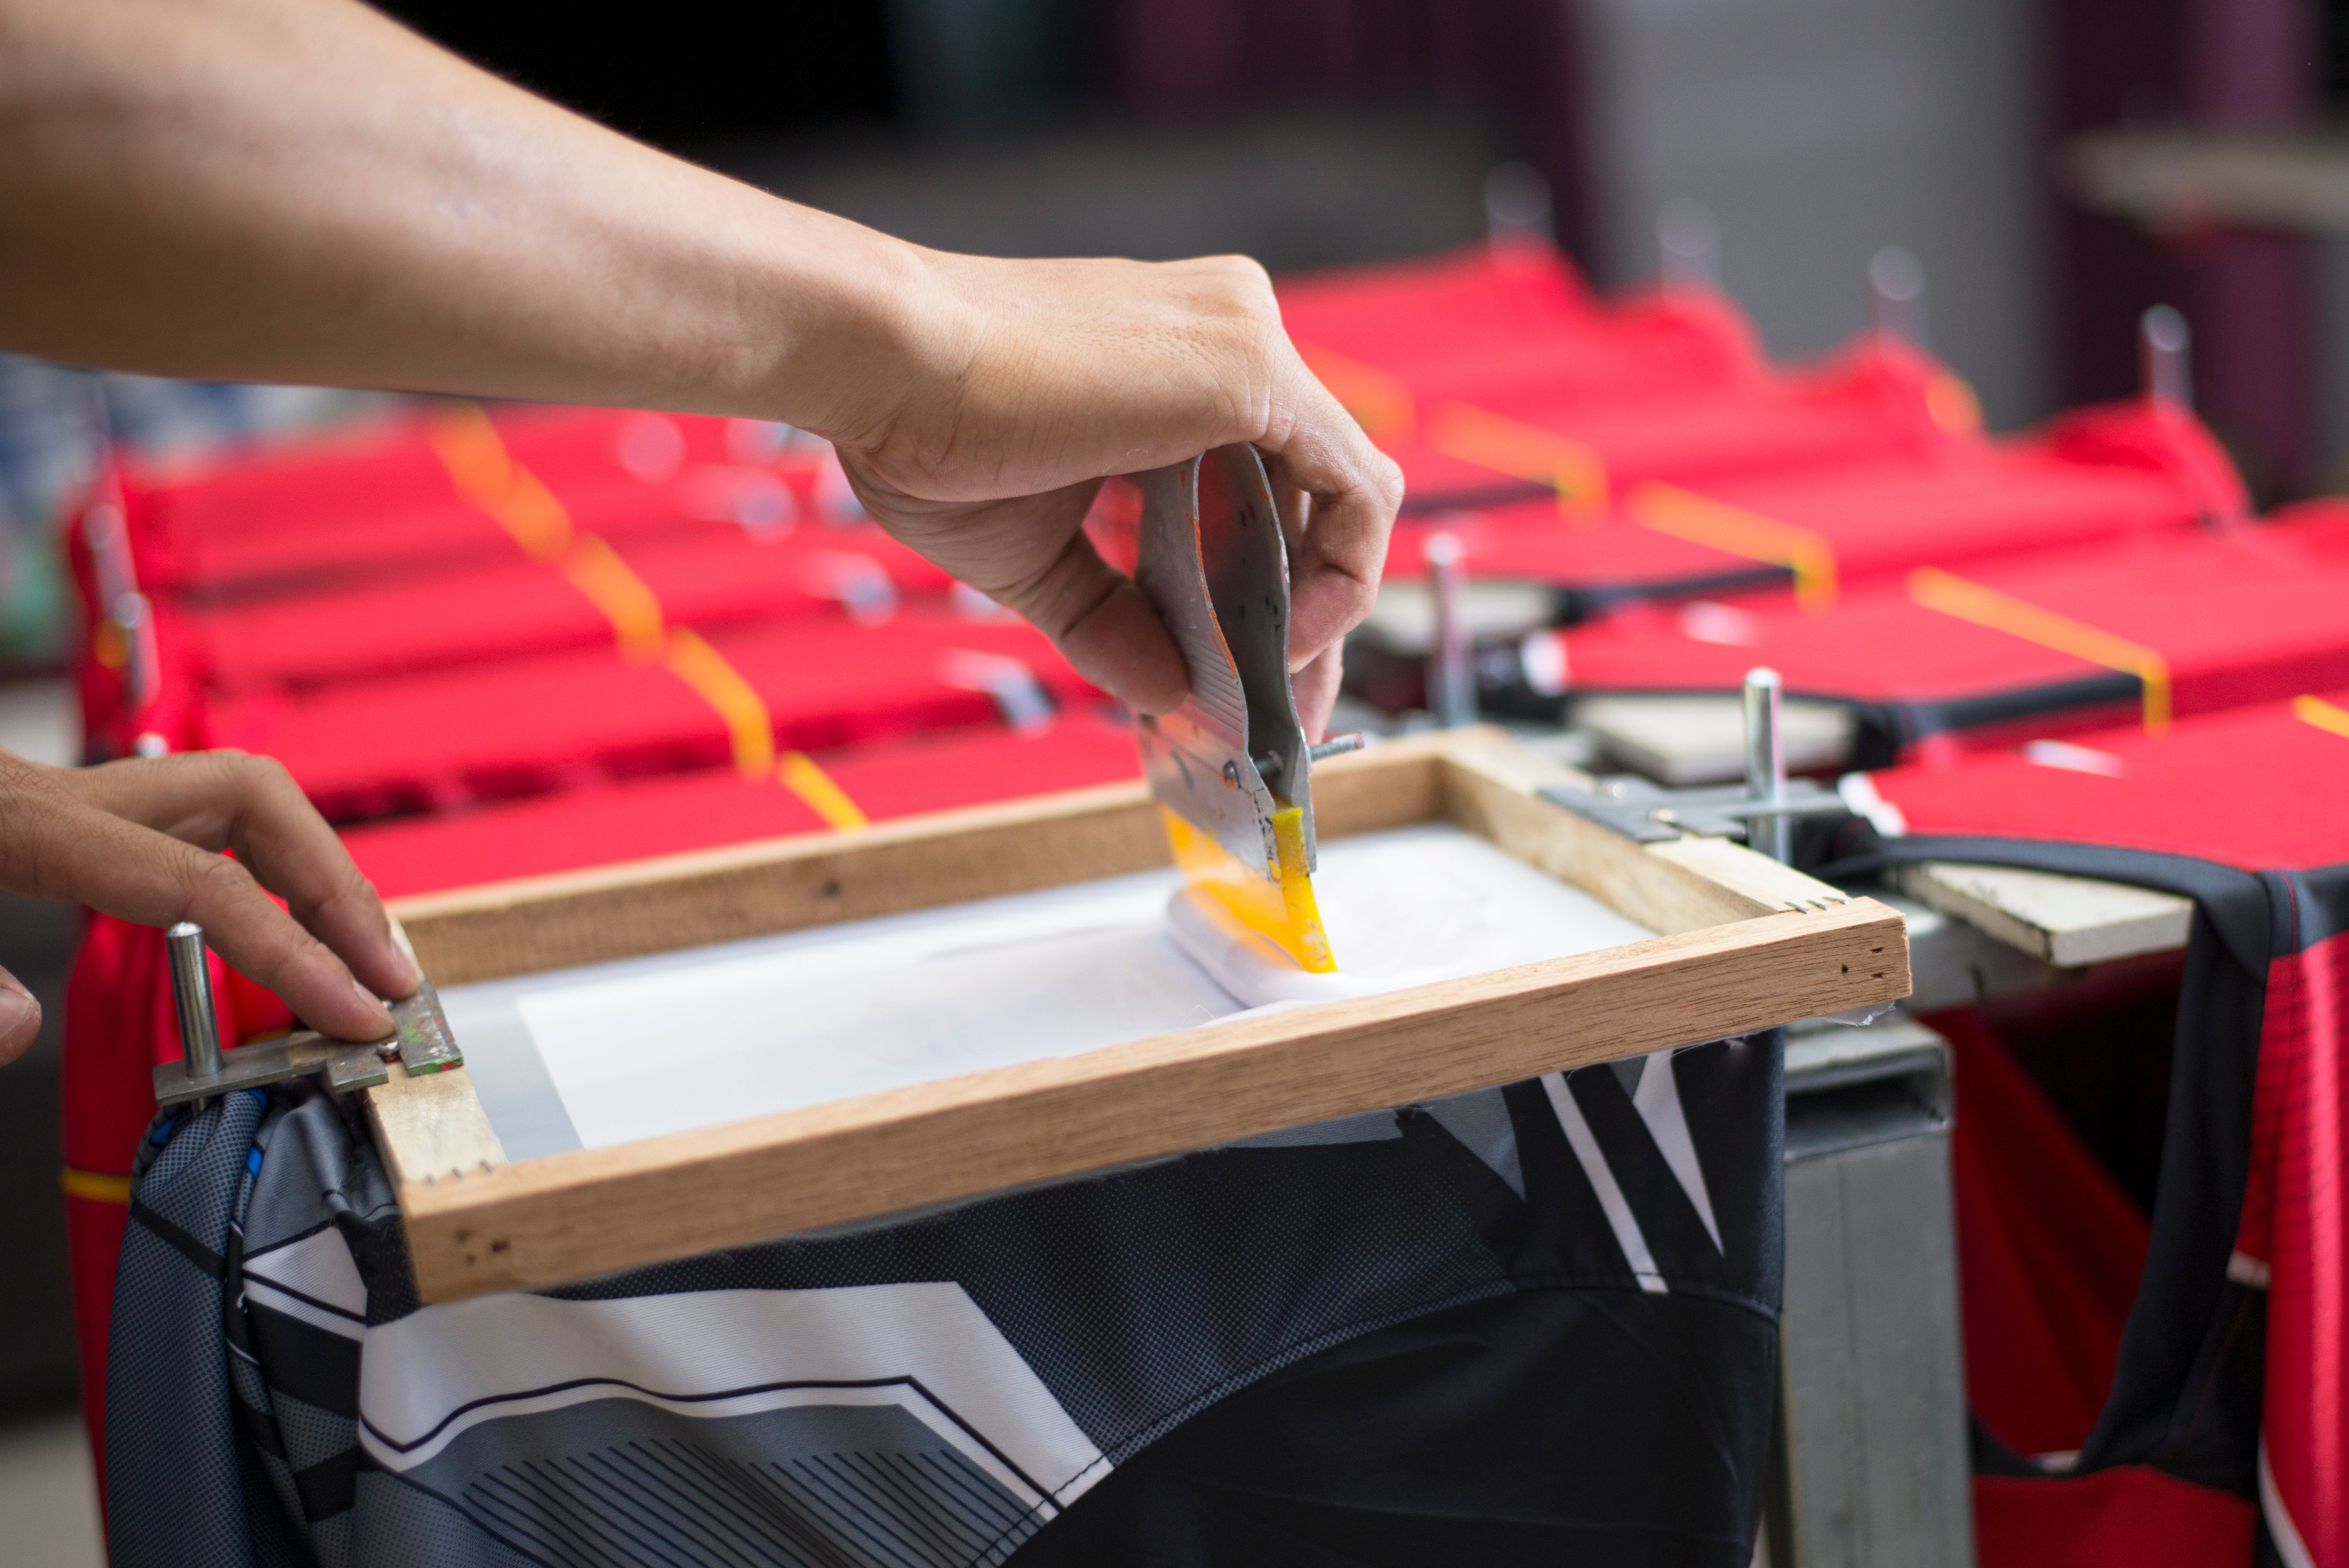
Printing Your Design
With your screen ready, it's time to print! Place your screen over the surface you want to print on. Apply a small amount of ink at the top of the screen. Using the squeegee, pull the ink across the screen to transfer your design onto the surface below.
Final Touches
Carefully lift the screen to reveal your printed design. Allow the ink to dry completely. If you're printing on fabric, you may need to heat-set the ink to make it permanent. Follow the instructions on your ink for the best results.
Clean your screen immediately after printing to prevent ink from drying in the mesh. Use water and a soft brush to remove any residue.
Experiment and Enjoy
Screen printing opens up a world of creative possibilities. Experiment with different designs, colors, and surfaces to develop your unique style. With practice, you'll refine your technique and produce professional-quality prints.
Now that you have the basics down, explore further techniques like multi-color printing and creating more complex designs. Happy printing!