DIY Guide: Creating Personalized T-Shirts with Screen Printing
Screen printing is a fantastic way to bring your creative ideas to life on fabric. Whether you're looking to make a statement, promote a cause, or simply enjoy a fun activity, screen printing your own personalized T-shirts can be both rewarding and cost-effective. In this guide, we'll walk you through the process of creating your very own custom T-shirts using the screen printing technique.
Gathering Your Materials
Before you begin, you'll need to gather a few essential materials. Here's what you'll need:
- Plain T-shirts (preferably 100% cotton for best results)
- Screen printing frame and mesh
- Emulsion and sensitizer
- Screen printing ink
- Squeegee
- Transparency film with your design
- Light source (for exposing the screen)
Once you have all your materials ready, set up a clean work area where you can comfortably move around and access all your supplies.
Creating Your Design
The first step in screen printing is creating or selecting a design. You can use graphic design software to create your own artwork or choose an existing image that you wish to print on your T-shirt. Remember that simpler designs with bold lines and fewer colors work best for beginners.
Print your design onto transparency film. This will be used to transfer the image onto the screen using light exposure. Ensure that the design is the correct size for your T-shirt and screen.
Preparing the Screen
To prepare the screen, you'll need to coat it with a photosensitive emulsion. Mix the emulsion and sensitizer according to the manufacturer's instructions and apply an even coat on both sides of the screen using a squeegee. Let it dry in a dark room to prevent premature exposure.

Once dry, place your transparency film with the design on the screen and expose it to light. This will harden the emulsion where the light hits, leaving your design area soft and washable. After exposure, rinse the screen thoroughly to reveal your design.
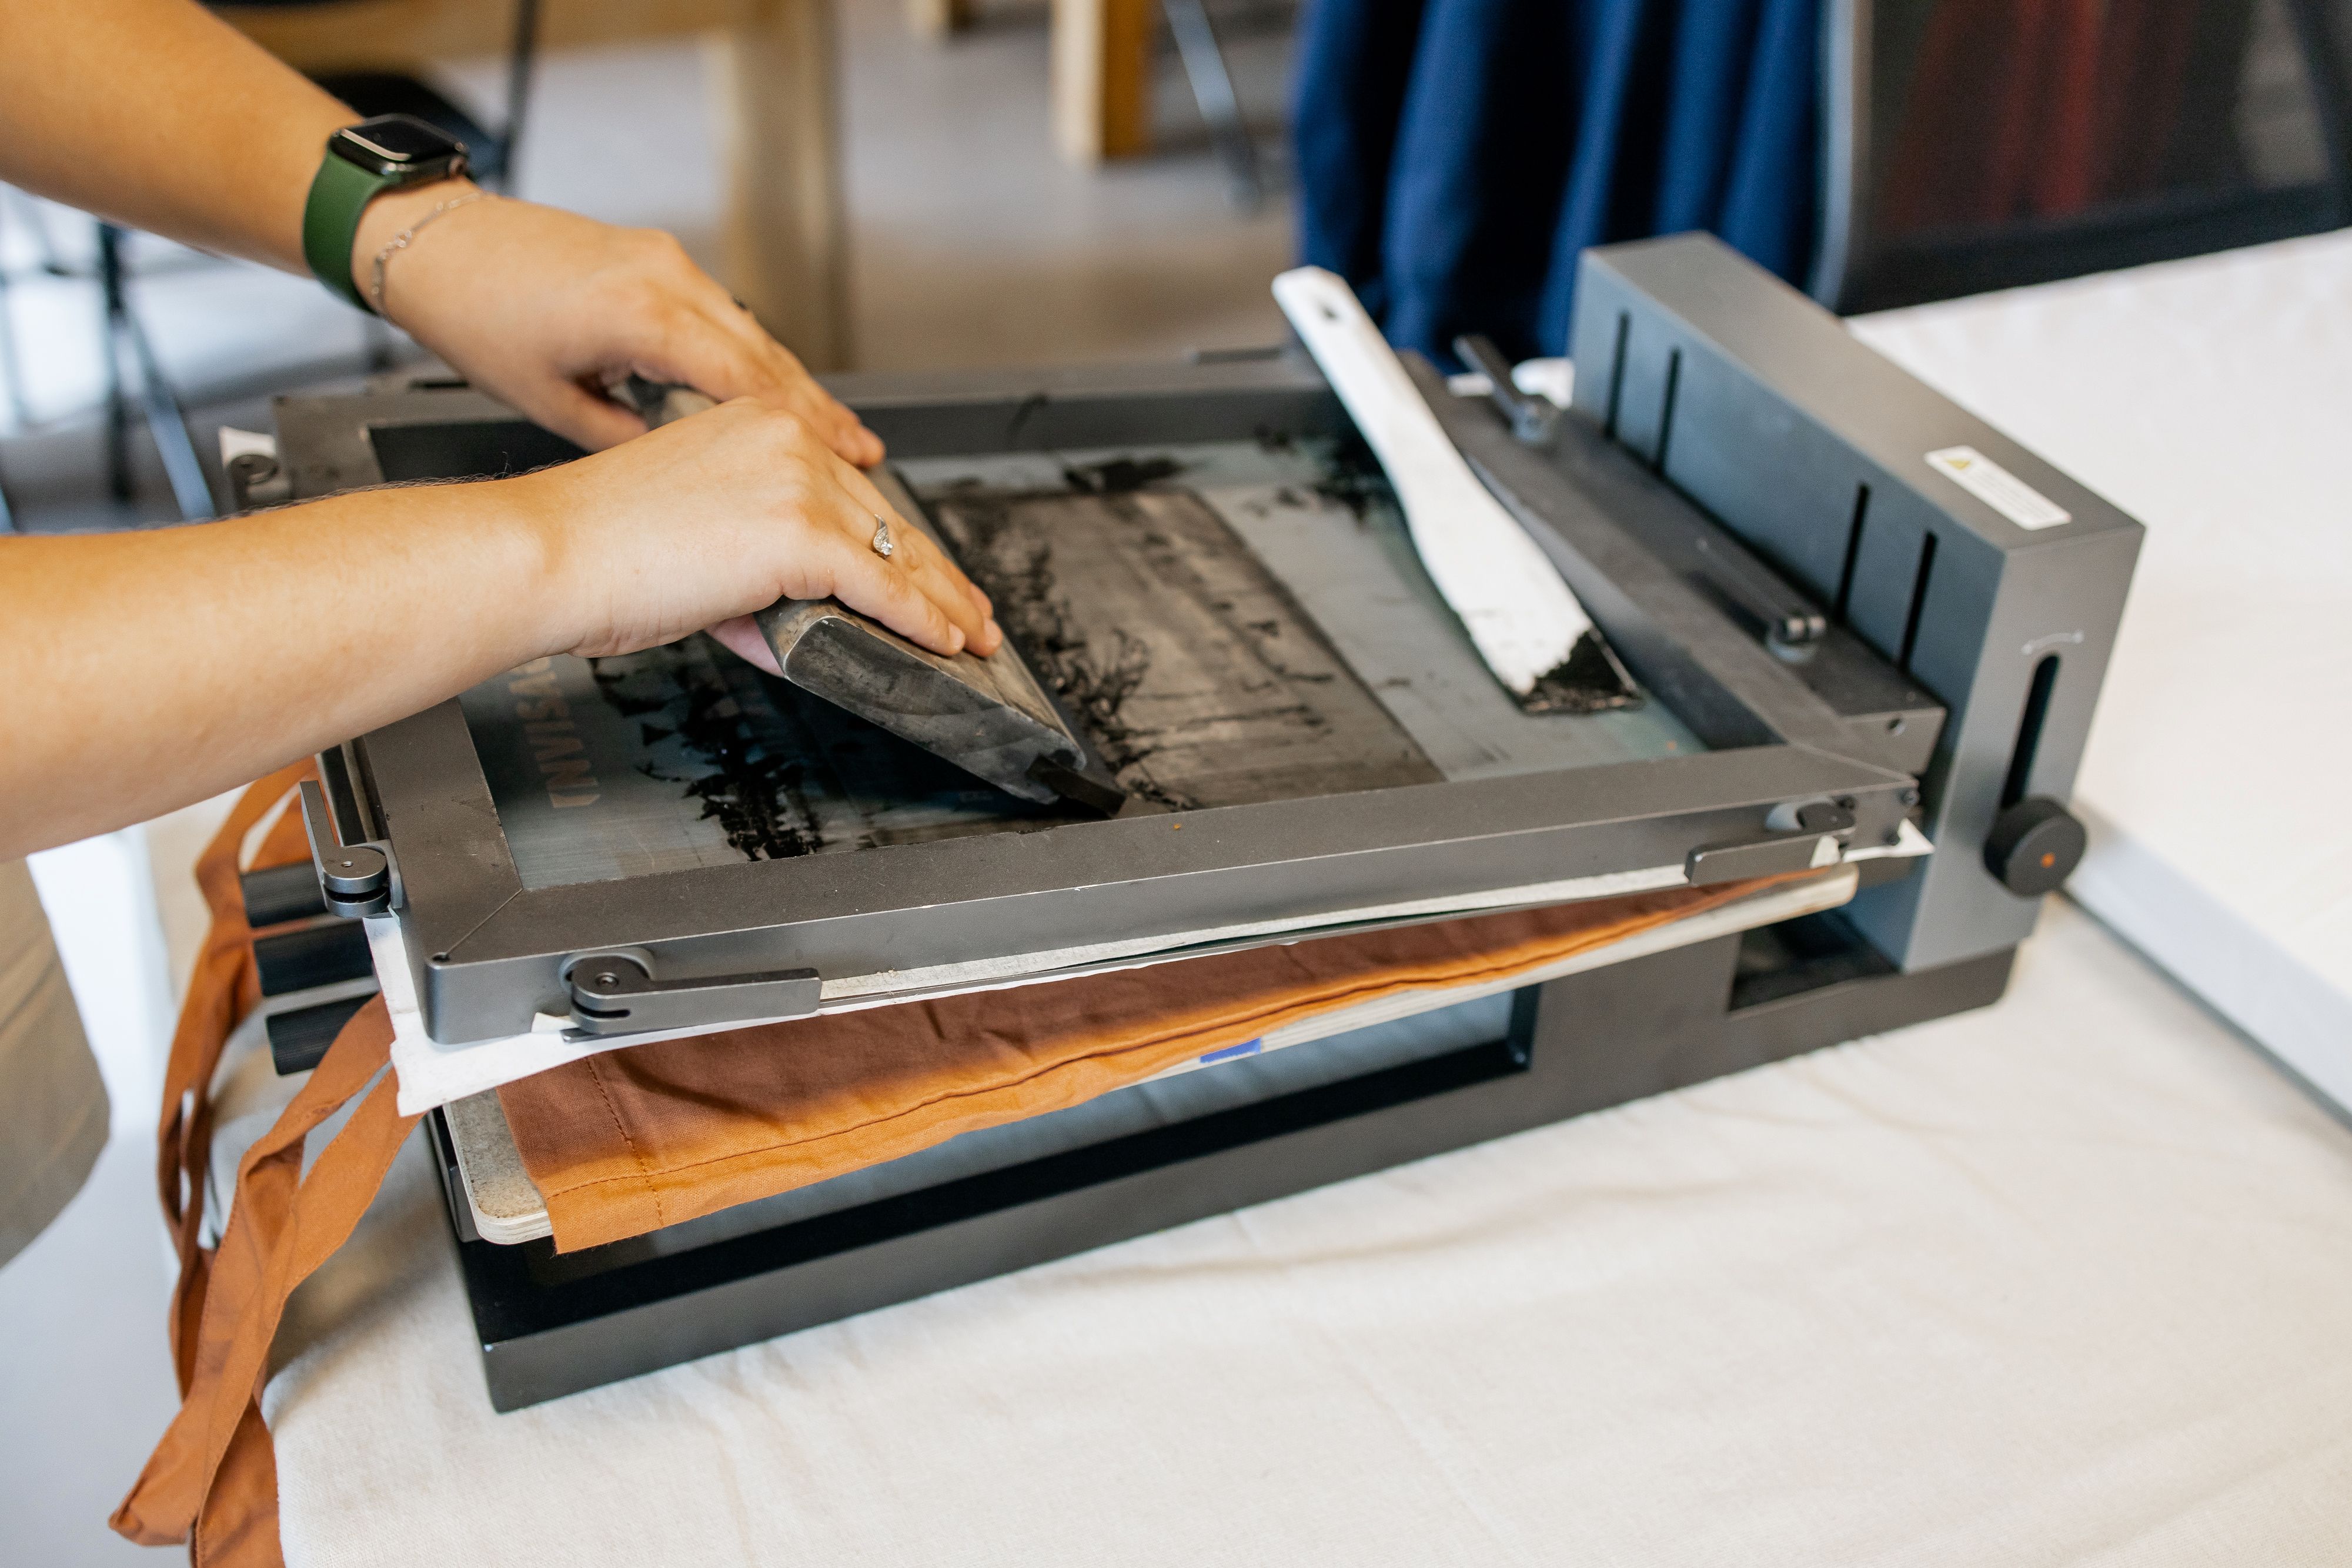
Printing Your T-Shirt
Now that your screen is ready, it's time to print! Place your T-shirt on a flat surface and position the screen on top of it, ensuring the design is correctly aligned. Add a generous amount of screen printing ink at one end of the screen.
Using a squeegee, apply firm and even pressure to push the ink through the screen mesh onto the T-shirt. Lift the screen carefully to reveal your printed design. Allow the ink to dry completely before handling or washing the shirt.

Curing and Caring for Your T-Shirt
To ensure the longevity of your design, it's important to cure the ink properly. You can use a heat press, an iron, or even a clothes dryer to set the ink. Follow the ink manufacturer's instructions for specific curing times and temperatures.
Once cured, care for your personalized T-shirt by washing it inside out in cold water and avoiding harsh detergents or bleach. This will help maintain the vibrancy of your design over time.
Tips for Success
Screen printing can be a bit tricky at first, but practice makes perfect. Here are some tips to help you achieve better results:
- Test Prints: Always test your setup on scrap fabric before printing on your final T-shirt to avoid mistakes.
- Consistent Pressure: Maintain even pressure with your squeegee for uniform ink coverage.
- Patience: Allow each layer of ink to dry completely before adding additional colors or layers.
By following these steps and tips, you can create unique and personalized T-shirts that showcase your creativity and style. Enjoy the process and wear your art with pride!