A Deep Dive into the Screen Printing Process: From Design to Finished Product
Introduction to Screen Printing
Screen printing is a popular technique used to transfer designs onto various surfaces, including fabrics, paper, and plastics. Known for its versatility and durability, this method has been a favorite among artists and businesses alike. Whether you're printing t-shirts for a band or posters for a local event, understanding the screen printing process can help you achieve better results.
Understanding the Design Phase
The first step in screen printing is the design phase. This involves creating or selecting an image that you want to print. Designs can be intricate or simple, but it's crucial that they are high-quality and suited for printing. Many screen printers use software like Adobe Illustrator or Photoshop to create crisp, vector-based images that translate well onto screens.
Once the design is ready, it's printed onto a transparent acetate film. This film will serve as the template during the exposure process, where light-sensitive emulsion is used to imprint the design onto a mesh screen.
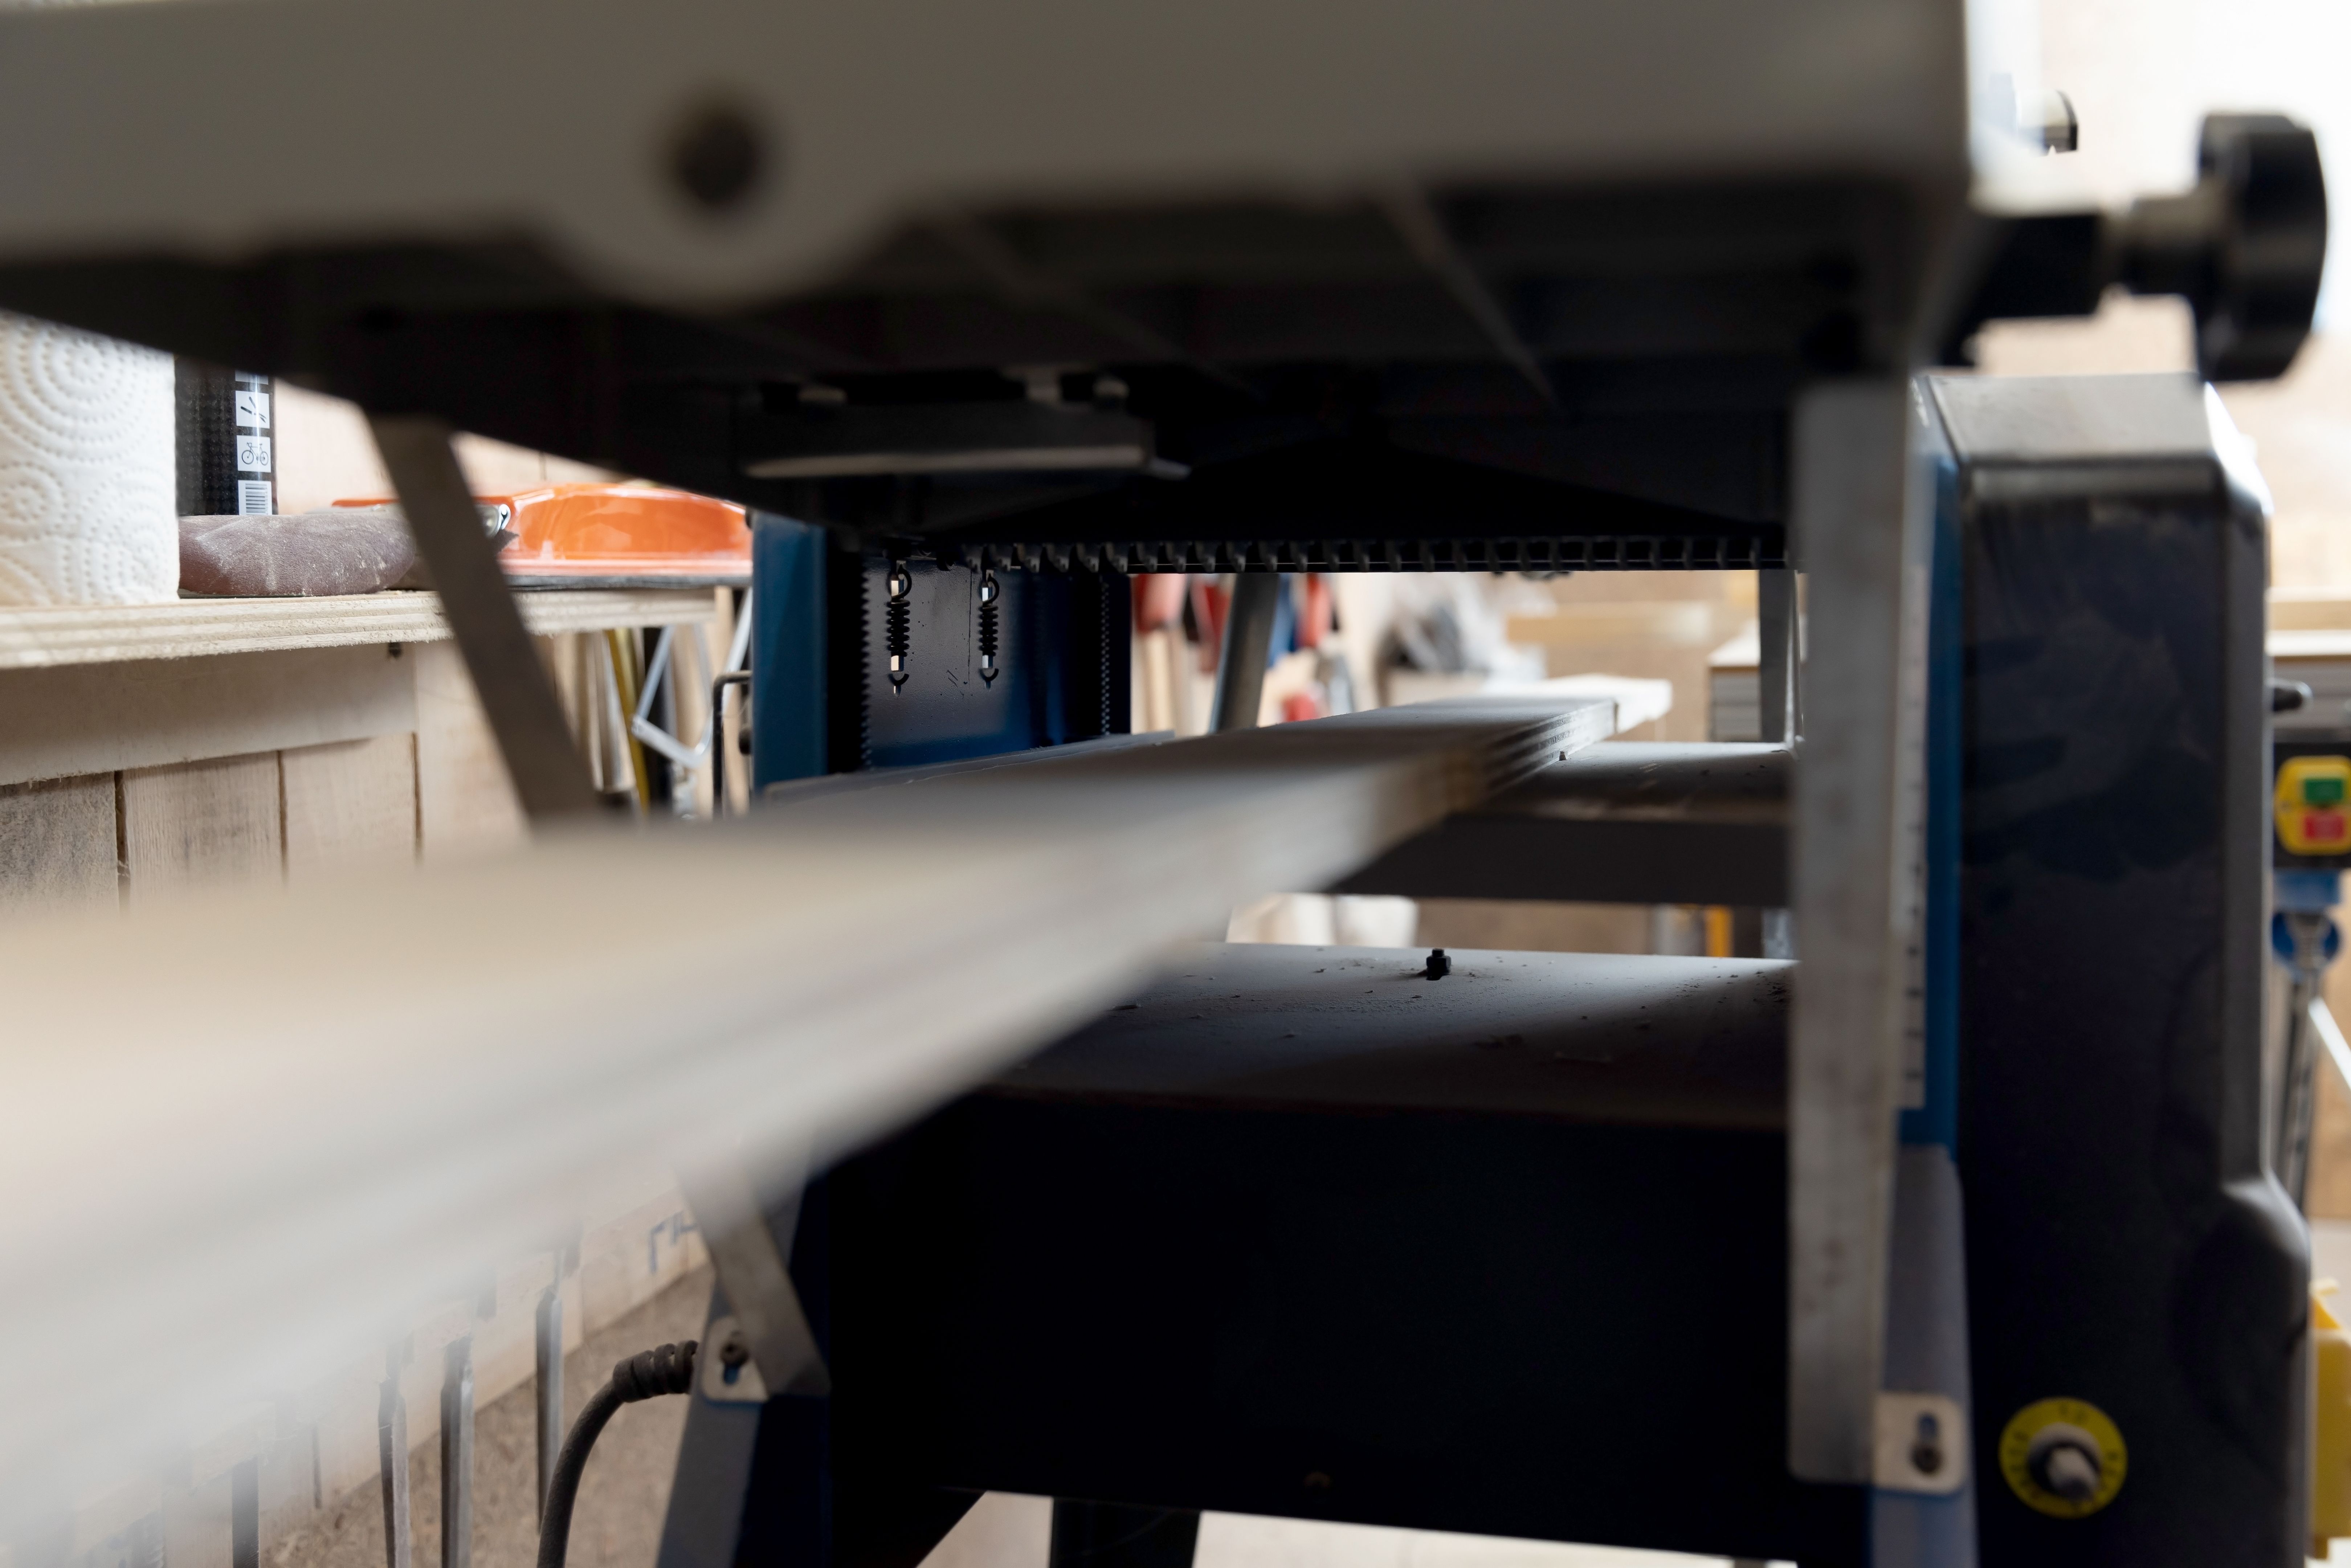
Setting Up the Screen
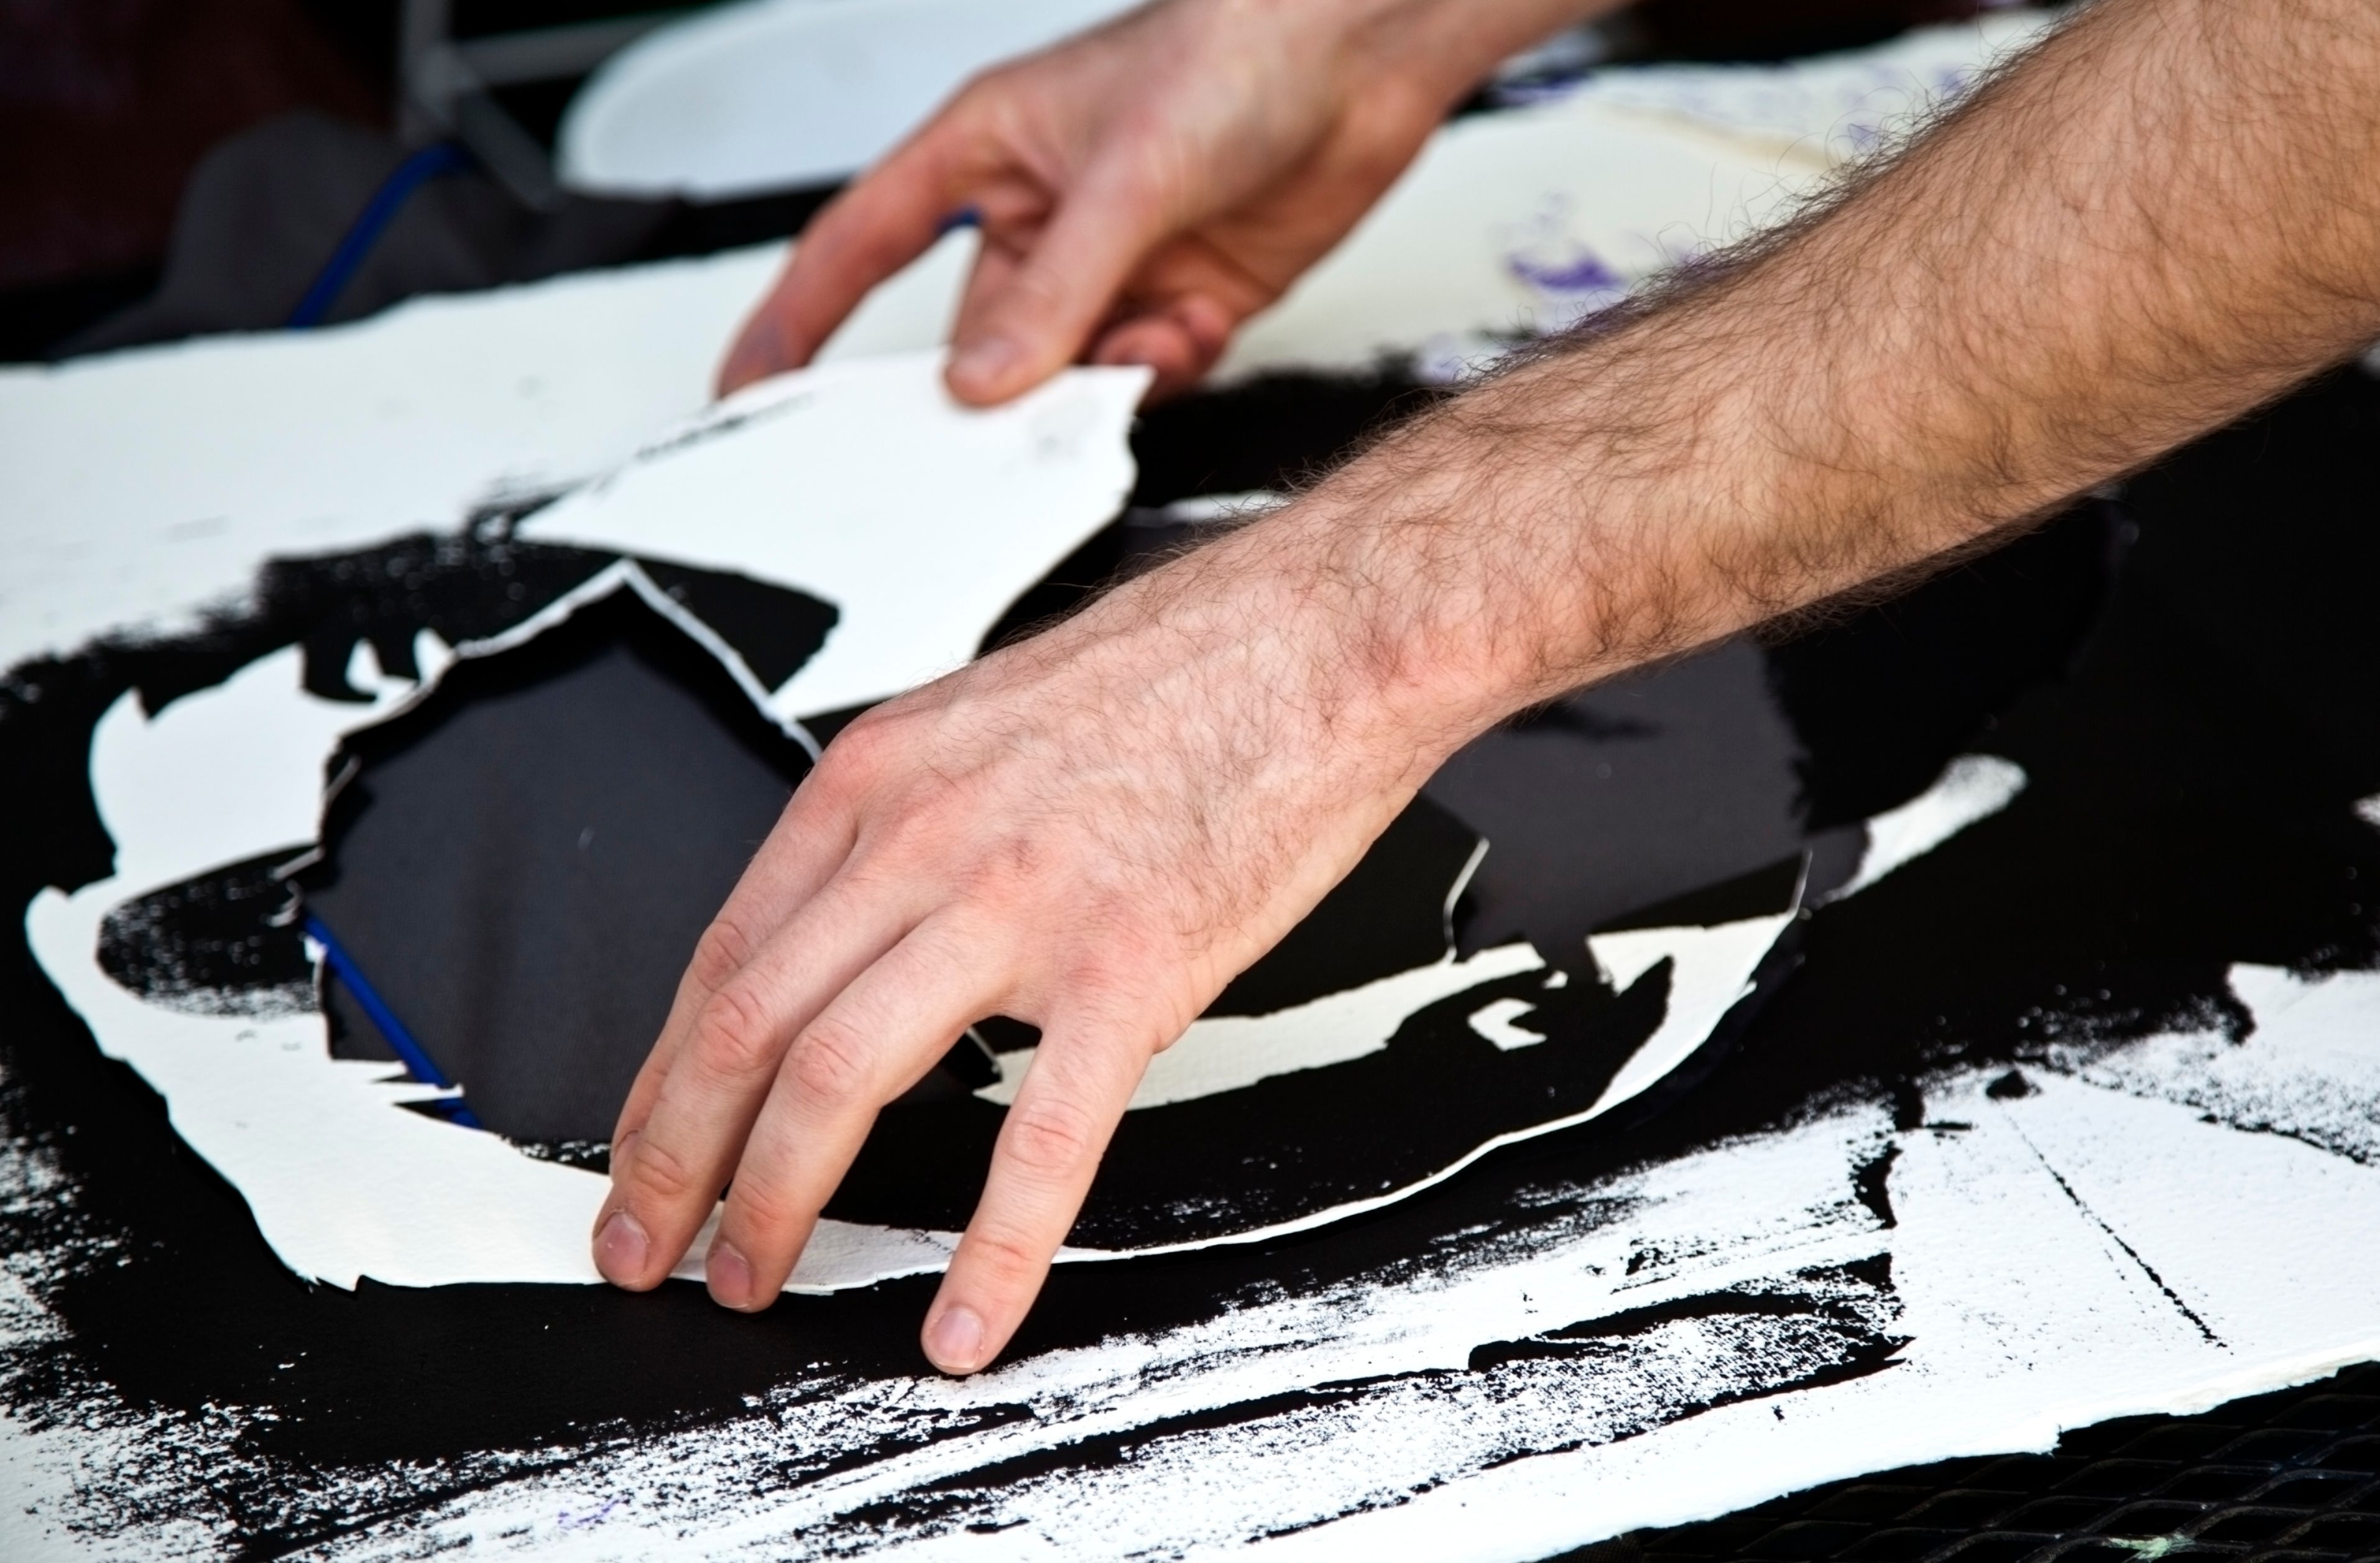
The next phase is setting up the screen. The screen is typically made of a fine mesh material stretched over a frame. The mesh is coated with a light-sensitive emulsion and allowed to dry in a dark room. When the acetate film with the design is placed on the screen and exposed to light, the emulsion hardens except where the design blocks the light. This creates a stencil of your design on the screen.
Printing the Design
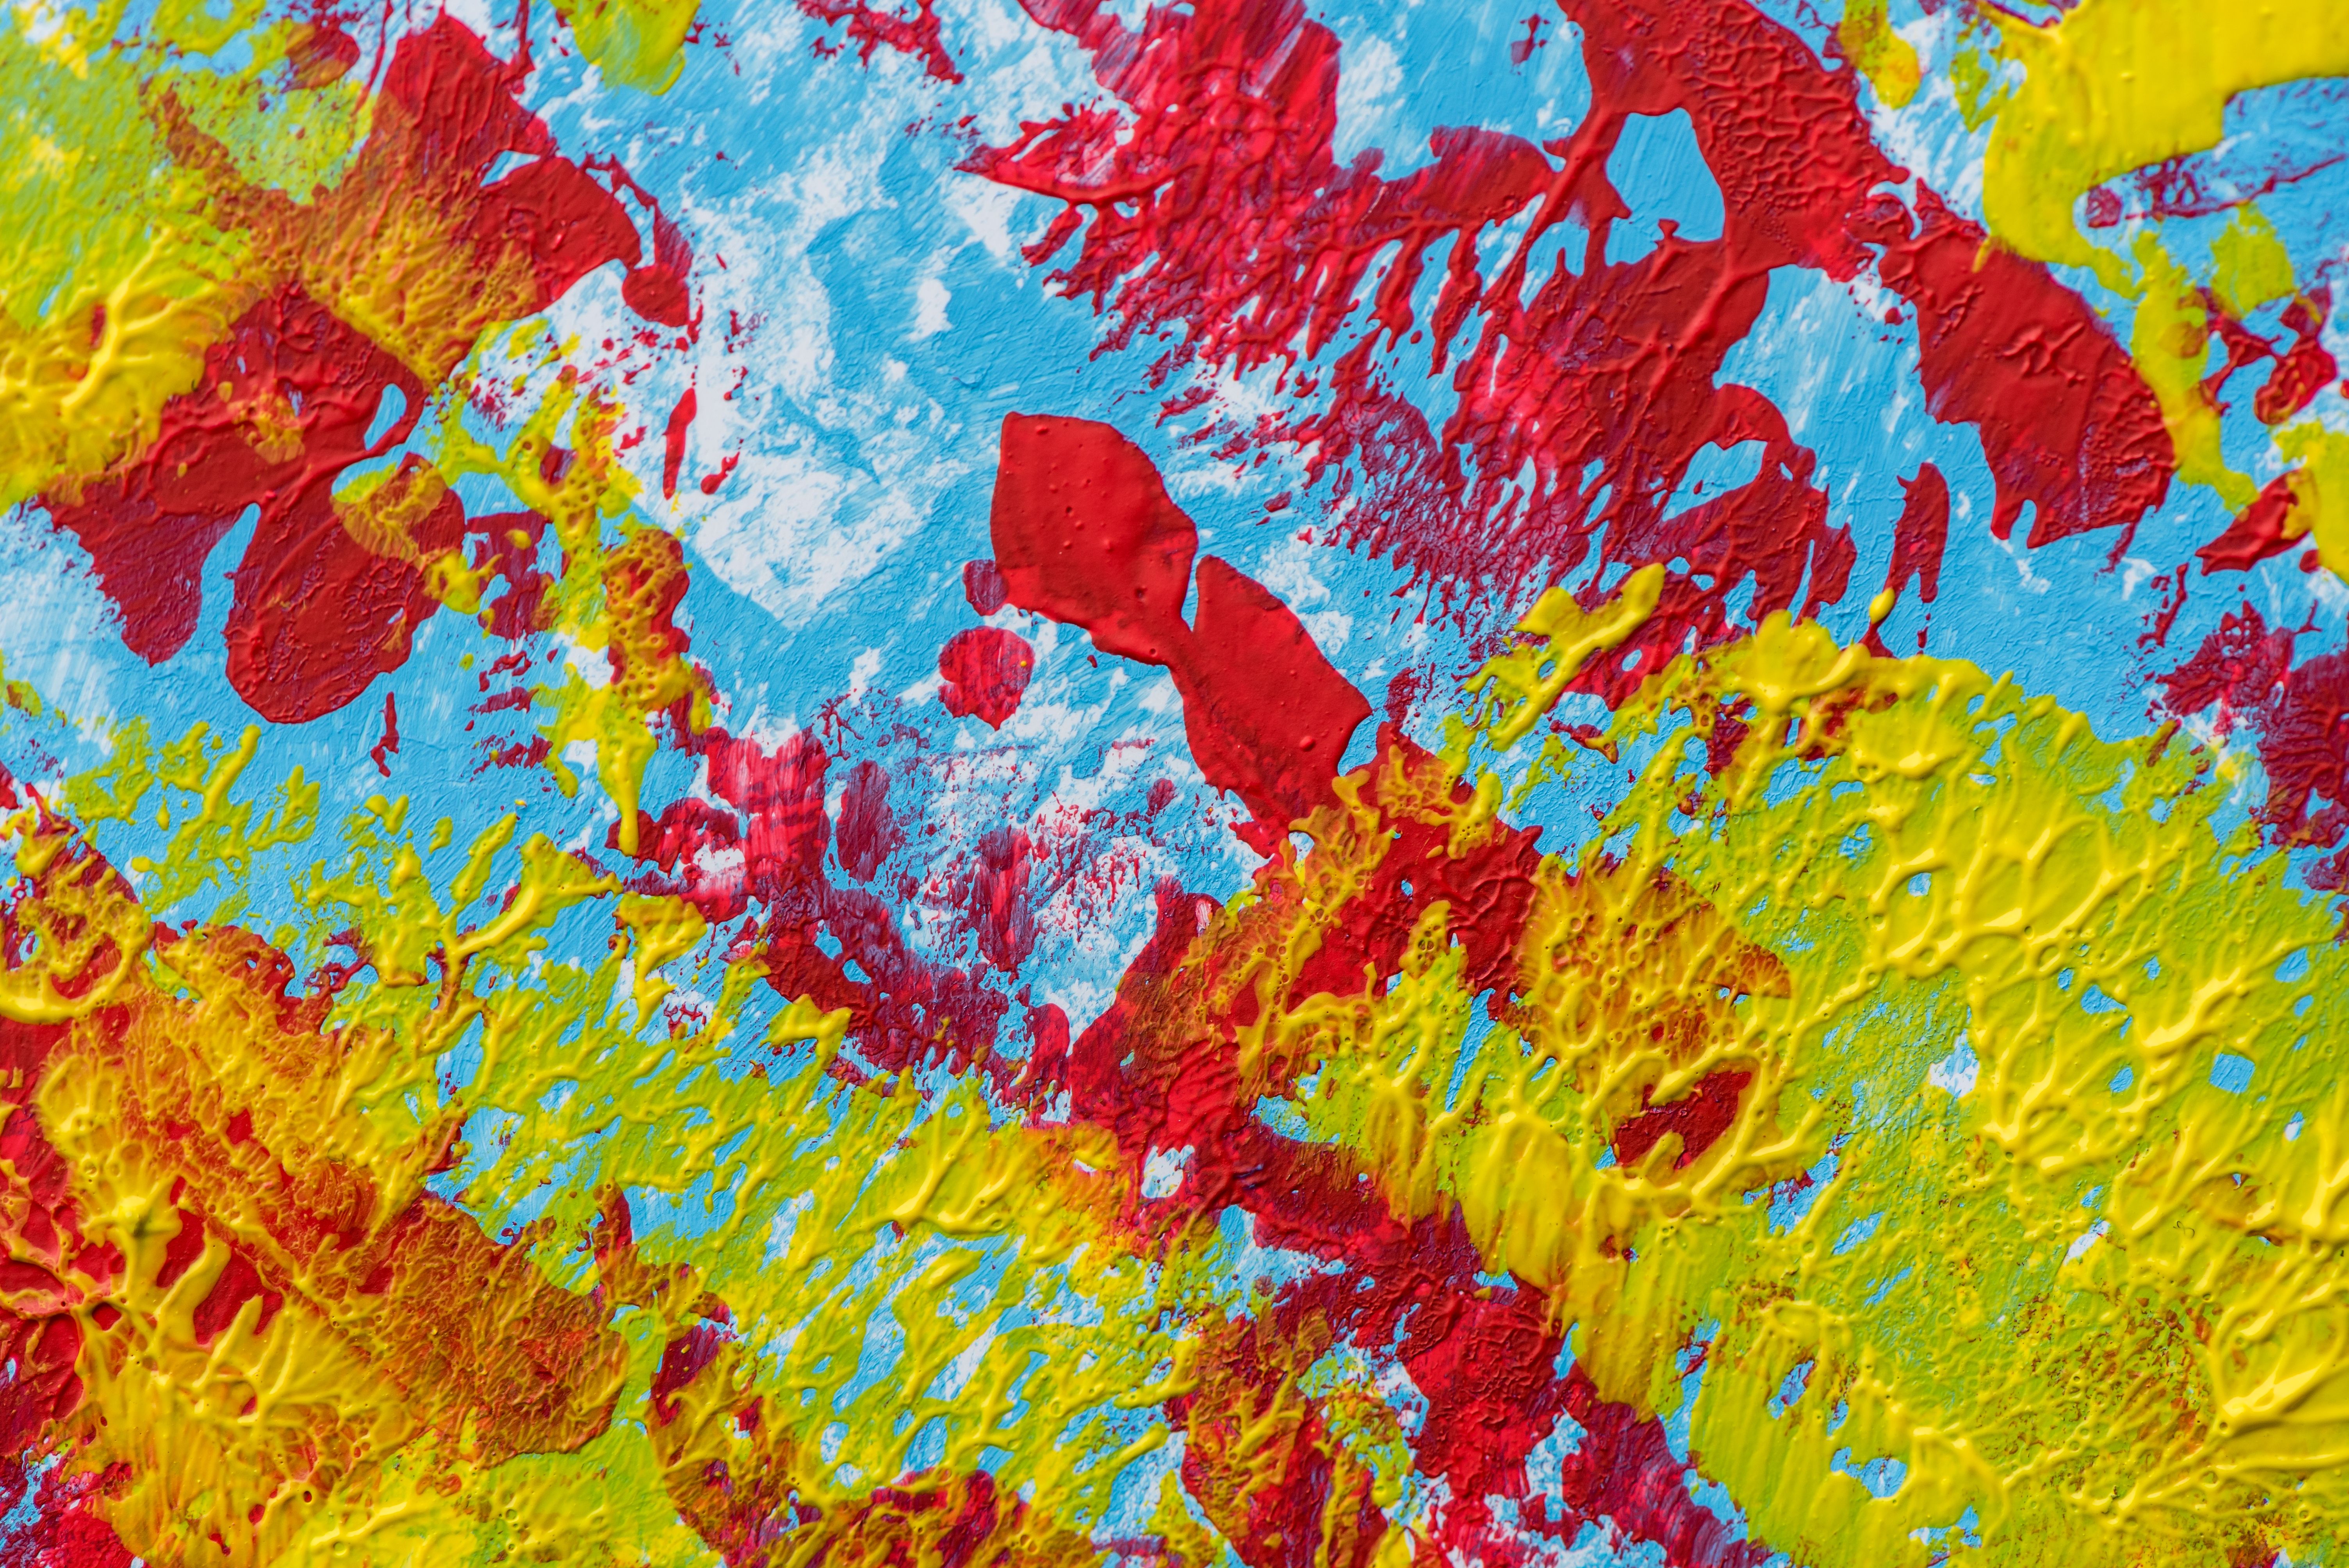
Once the stencil is ready, it's time to start printing. The screen is placed over the material to be printed on, and ink is applied to the top of the screen. A squeegee is then used to press the ink through the open areas of the stencil, transferring the design onto the material underneath.
This process can be repeated multiple times with different screens for multi-color designs. Each color requires its own screen, and precise alignment is crucial to ensure that the final print looks clean and professional.
The Curing Process
After printing, the ink needs to be cured to ensure it adheres properly to the material and withstands wear and washing. Curing involves applying heat to set the ink permanently. For fabric items like t-shirts, this might involve using a heat press or a conveyor dryer.
Finishing Touches and Quality Control
Once cured, each item should be inspected for quality assurance. This includes checking for alignment issues, ink smudges, and ensuring color vibrancy. Any defects are usually corrected or removed from the batch.
The finished products are then cleaned up if necessary — for instance, removing any excess ink from non-design areas — and prepared for packaging or distribution.
Conclusion
Screen printing is a meticulous process that requires attention to detail at every stage. From designing your artwork to curing the printed product, each step plays a vital role in ensuring high-quality results. Whether you're a seasoned professional or a hobbyist, understanding these steps can help you produce stunning prints that stand out.